Mastering External Drive Integration with NeoDeck: A Step-by-Step Guide
Discover seamless external drive use with NeoDeck for an enhanced DJ experience.
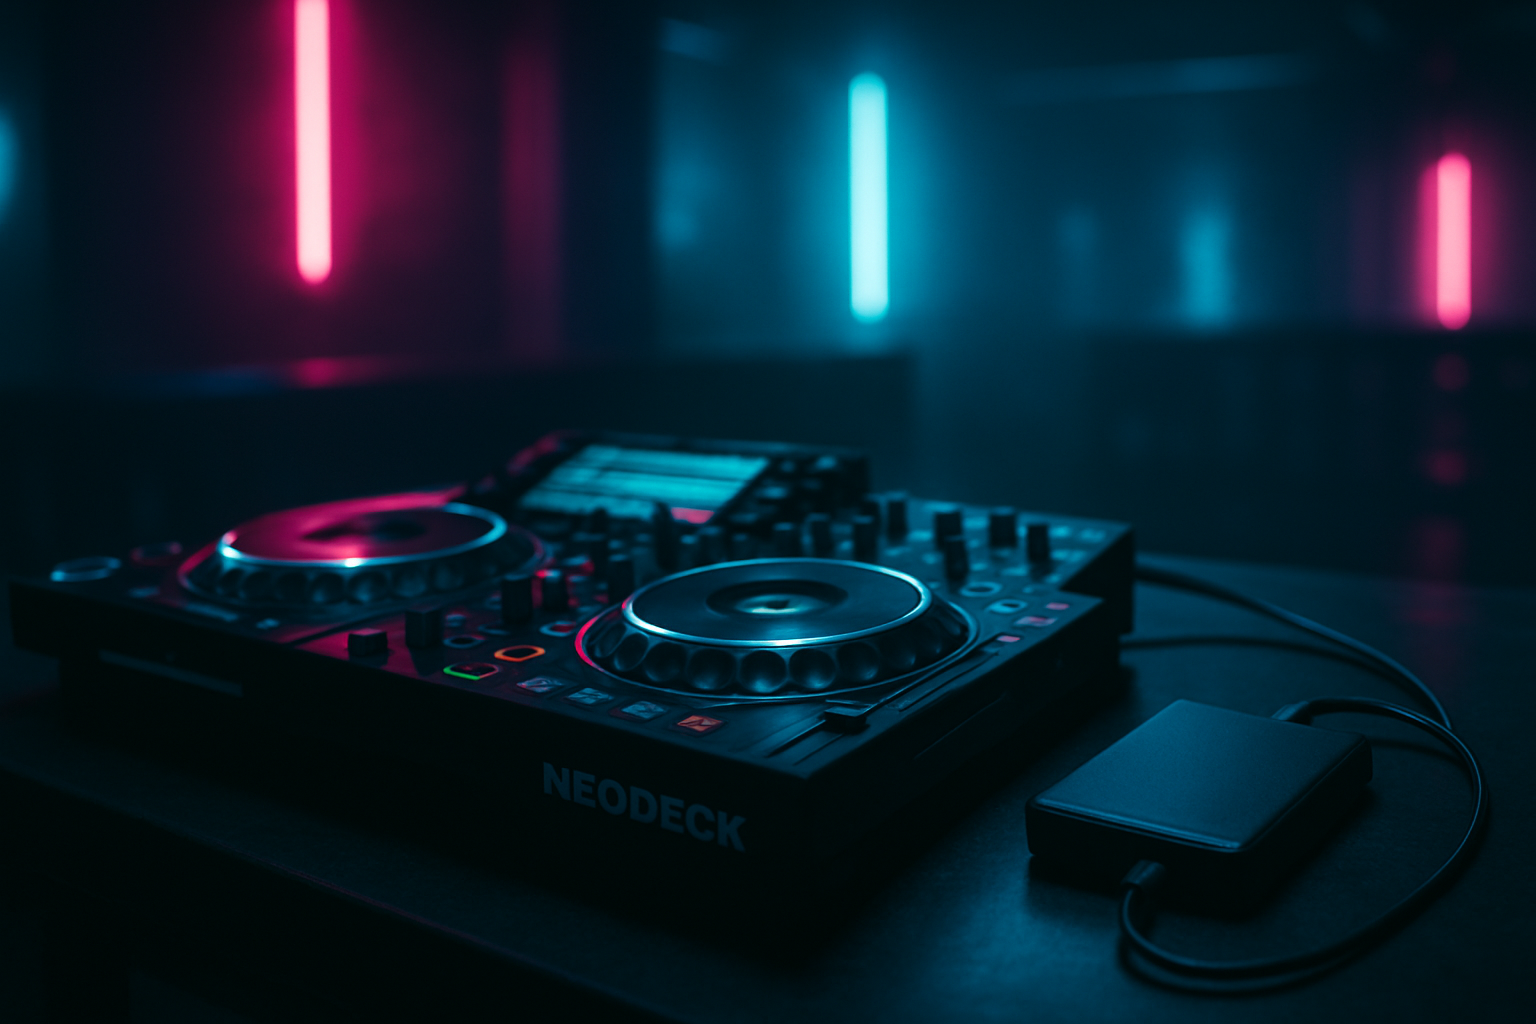
Introduction to External Drives with NeoDeck
As a modern DJ, managing extensive music libraries efficiently is crucial. The NeoDeck, with its cutting-edge features, offers seamless support for external drives, enabling you to expand your storage capabilities without sacrificing performance. This guide will walk you through the process of using an external drive with your NeoDeck, ensuring a smooth and effective integration.
Why Use an External Drive with NeoDeck?
While the NeoDeck is a powerhouse of performance with its built-in features, an external drive can serve as a valuable addition for several reasons:
- Increased Storage Capacity: With the ever-growing music libraries, an external drive helps keep all your tracks accessible without filling up the NeoDeck's internal storage.
- Enhanced Organization: An external drive allows you to categorize your music by genre, gig type, or any preferred system, making track selection during live performances quick and efficient.
- Portability: Easily carry your entire music collection by simply plugging in your external drive, perfect for DJs who perform at multiple venues.
Choosing the Right External Drive
Before connecting an external drive to your NeoDeck, it's essential to choose a drive that meets your needs. Here are some key considerations:
- Drive Type: Solid State Drives (SSDs) are recommended for their speed and reliability, which are crucial for quick access and loading times during performances.
- Storage Capacity: Depending on your music library size, opt for a drive with adequate space, typically ranging between 500GB to 2TB for most DJs.
- Port Compatibility: Ensure the drive supports USB-C connectivity to match the NeoDeck's plug-and-play capability.
- Durability: Look for drives with robust casing, especially if you're a DJ who travels frequently, to protect your data from physical damage.
Connecting and Configuring Your External Drive
With your chosen external drive in hand, follow these steps to connect and configure it with your NeoDeck:
Step 1: Format the Drive
Ensure your drive is formatted correctly for optimal performance. The recommended format for Linux-based systems like NeoDeck is Ext4, although FAT32 and exFAT are also supported for cross-platform compatibility.
Step 2: Connect to NeoDeck
Using a USB-C cable, connect your external drive to the NeoDeck. The NeoDeck’s real-time OS will automatically recognize the drive, allowing you to access your files almost instantly.
Step 3: Sync Your Music Library
Transfer your music library to the external drive. It is advisable to organize your files into folders and playlists for easier navigation during live sets.
Step 4: Configure Your DJ Software
Open the pre-loaded DJ software on NeoDeck. Navigate to the library settings and add your external drive as a music source. This step ensures that all your tracks are indexed and ready to play.
Optimizing Performance with External Drives
To avoid potential hiccups during performances, consider these optimization tips:
- Regular Backups: Frequently back up your music library to another storage device to prevent data loss.
- Defragmentation: Occasionally defragment your external drive if it's not an SSD to enhance read/write speeds.
- Update Firmware: Keep your external drive's firmware updated for improved stability and performance.
Troubleshooting Common Issues
Even with the best preparation, issues can arise. Here are common problems and their solutions:
Drive Not Recognized
Ensure the USB-C cable is securely connected. Try using a different port or cable if the issue persists.
Slow Performance
Check for background processes that may be using system resources. Ensure your drive is not nearing full capacity, as this can slow down performance.
File Access Errors
Verify the drive's format compatibility. Reformatting the drive may resolve persistent access errors.
Conclusion
Integrating an external drive with your NeoDeck can significantly enhance your DJing experience by expanding your library capacity and ensuring a well-organized music collection. By following this guide, you'll ensure seamless integration and optimal performance during your gigs. Embrace the full potential of your NeoDeck and keep the music flowing effortlessly.
Ready to upgrade your DJ setup?
Join thousands of DJs on the waitlist for NeoDeck — the purpose-built DJ computer.
Get Early Access