Mastering the Art of Mounting Your NeoDeck on a DJ Controller
Learn how to seamlessly integrate your NeoDeck with any DJ controller for a streamlined and efficient setup.
Introduction to the NeoDeck Setup
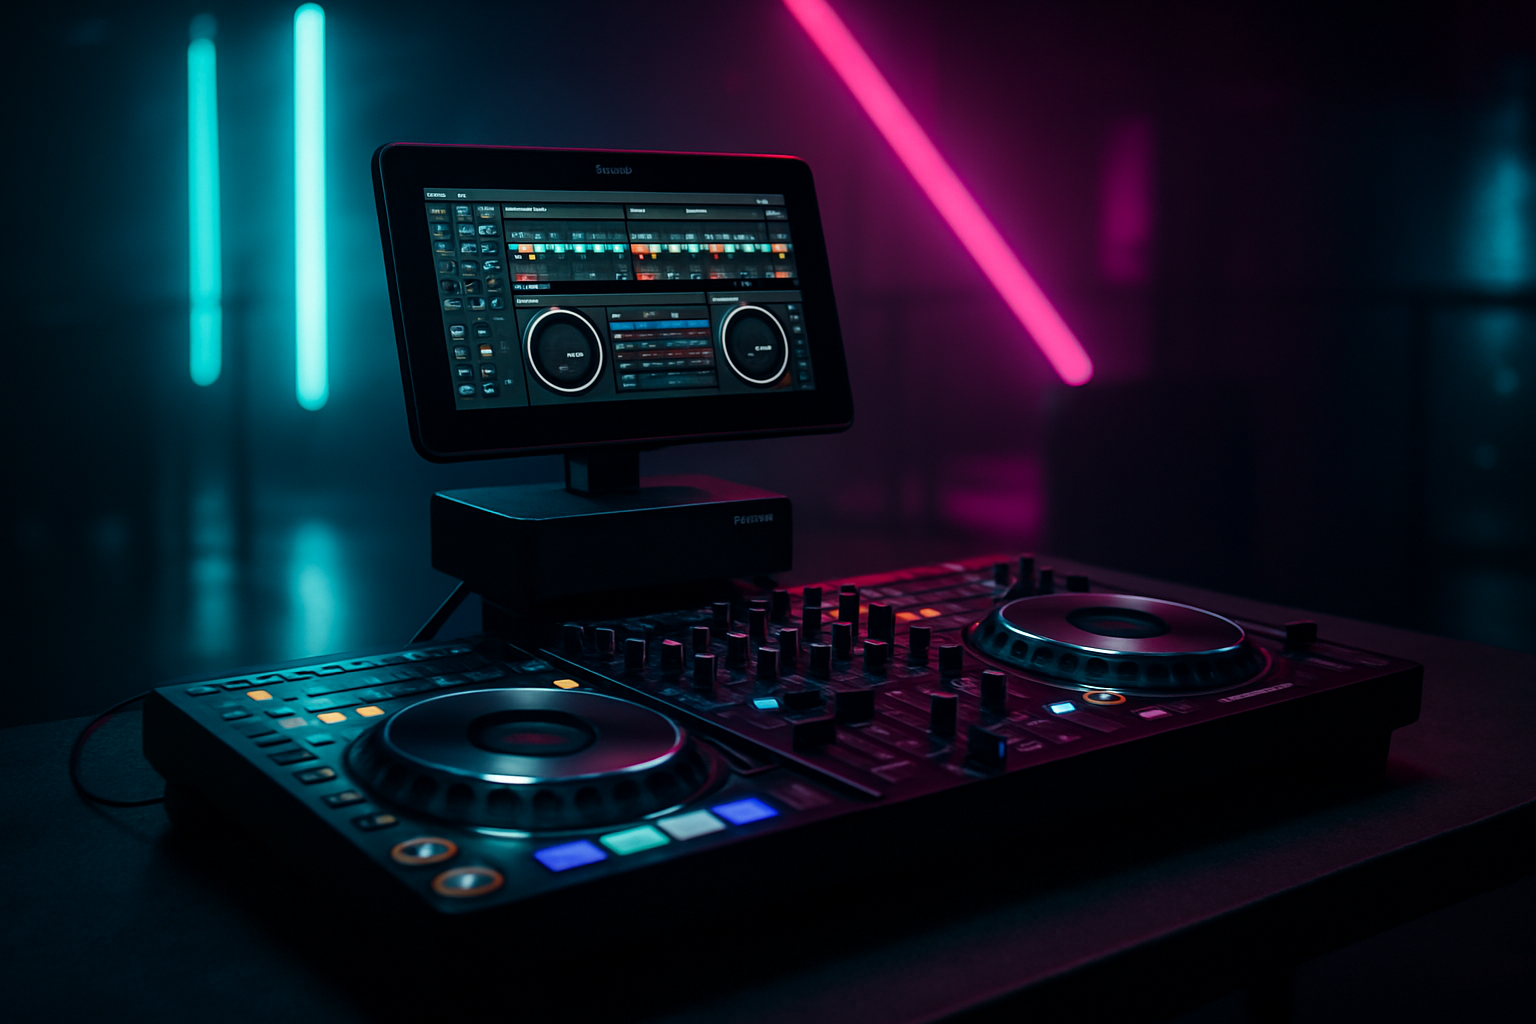
The NeoDeck is revolutionizing DJ setups everywhere by offering a compact, fanless, and efficient alternative to traditional laptops. With its ultra-sleek design and powerful capabilities, it integrates effortlessly with various DJ controllers. This guide will walk you through the process of mounting your NeoDeck onto your DJ controller, ensuring a seamless workflow and an optimized performance setup.
Understanding Your Equipment
Before diving into the mounting process, it's crucial to familiarize yourself with both your NeoDeck and your DJ controller. The NeoDeck features a 10" IPS touchscreen and a built-in professional audio interface with dual stereo outputs. It's designed for USB-C plug-and-play compatibility with major DJ controllers like Pioneer, Numark, Denon, NI, and Hercules.
Check Compatibility
Ensure that your DJ controller's dimensions and surface layout can accommodate the NeoDeck. The placement should allow easy access to both the touchscreen and the controls on your controller.
Choosing the Right Mounting Accessories
For secure and effective mounting, you need the right accessories. Here are some options:
- Adjustable Mounting Brackets: These allow for flexible positioning and are ideal for those who frequently switch between different setups.
- Adhesive Pads: For a more permanent solution, high-strength adhesive pads can secure your NeoDeck in place without the need for drilling or brackets.
- Velcro Strips: If you desire a semi-permanent solution, industrial-strength Velcro strips offer a balance between stability and removability.
Step-by-Step Mounting Process
Step 1: Plan Your Setup
Visualize how you want your NeoDeck to rest on the controller. Consider ergonomics and visibility, ensuring that the touchscreen is easily accessible and visible from your usual standing position.
Step 2: Prepare the Surface
Clean the surface of your DJ controller to remove any dust or debris. This ensures a solid grip for whichever mounting accessory you choose.
Step 3: Attach the Mounting Accessory
Depending on your choice of accessory, attach it to the NeoDeck and/or the controller:
- Brackets: Secure the brackets onto the controller and then attach the NeoDeck.
- Adhesive Pads: Apply the pads at the base of the NeoDeck, then press firmly onto the controller.
- Velcro Strips: Stick one side of the Velcro to the NeoDeck and the other to the controller, then connect the two.
Step 4: Test Stability and Connectivity
Once mounted, gently test the stability by tapping the NeoDeck. It should remain firm and not shift during use. Next, connect the NeoDeck to your controller via USB-C and ensure it powers on and integrates smoothly with the controller's software.
Optimizing Your DJ Performance Setup
With the NeoDeck securely mounted, you can now focus on optimizing your performance setup. Here are some tips:
- Organize Cables: Use cable ties or clips to manage your cables, keeping them tidy and reducing the risk of accidental disconnection during a set.
- Adjust Viewing Angles: If using adjustable mounts, tweak the angle for optimal screen visibility under different lighting conditions.
- Software Configuration: Take advantage of the pre-loaded DJ software on the NeoDeck to configure your settings and playlists for a streamlined experience.
Troubleshooting Common Issues
Occasionally, you might encounter issues with your setup. Here are some common problems and their solutions:
- Loose Mounting: If the NeoDeck shifts during use, consider reinforcing with additional adhesive or a different mounting accessory.
- Connection Problems: Ensure your USB-C cable is not damaged and is fully inserted into both devices. Try a different cable if issues persist.
- Screen Visibility: Adjust the brightness settings on the NeoDeck or reposition it to reduce glare from stage lights.
Conclusion
Mounting your NeoDeck on your DJ controller is a game-changer for DJs looking to streamline their setup while enhancing performance capabilities. By following this guide, you ensure a stable, accessible, and efficient setup. With the NeoDeck's rapid boot times and professional audio interface, your DJ experience will be more dynamic and responsive than ever before.
Ready to upgrade your DJ setup?
Join thousands of DJs on the waitlist for NeoDeck — the purpose-built DJ computer.
Get Early Access