Seamless Setup Guide: Connecting NeoDeck with Pioneer DDJ Controllers
Learn how to easily set up your NeoDeck with Pioneer DDJ Controllers for a flawless DJ experience.
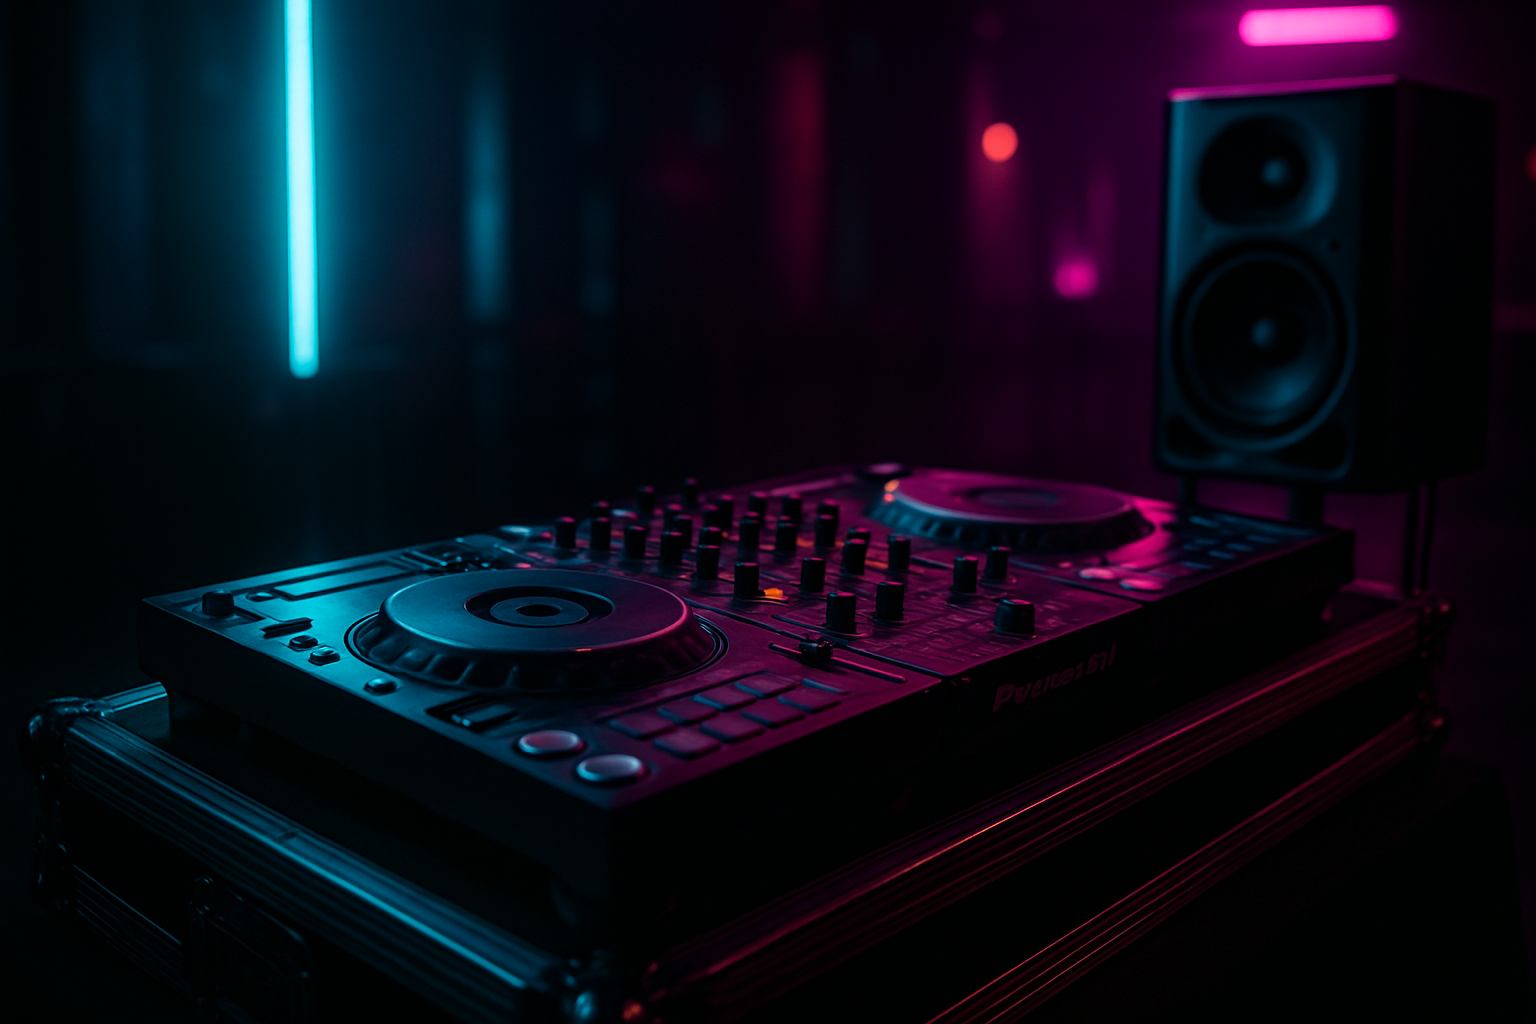
Introduction: The Perfect Pairing for DJs
In the dynamic world of DJing, the right equipment can make or break your set. For those using Pioneer DDJ controllers, integrating the NeoDeck can elevate your performance to a professional level. This guide walks you through the seamless setup process, ensuring you unlock the full potential of both devices.
Why Choose NeoDeck with Pioneer DDJ?
The NeoDeck, with its ultra-compact design and lightning-fast boot time, complements the robust functionality of Pioneer DDJ controllers. Its fanless, passively cooled system ensures silent operation, crucial for maintaining the ambiance in a live setting. The built-in professional audio interface with dual stereo outputs guarantees high-quality sound, critical for any performance.
Preparing Your Equipment
Before diving into the setup, ensure you have the following:
- A NeoDeck, fully charged and pre-loaded with DJ software.
- Your Pioneer DDJ controller (e.g., DDJ-400, DDJ-1000).
- A USB-C cable for connection.
- Professional audio cables for connecting to your sound system.
Step-by-Step Setup Guide
- Power Up Your NeoDeck: Start by powering on your NeoDeck. Thanks to its custom Linux-based real-time OS, it boots up in under 8 seconds, launching directly into the DJ software.
- Connect to Pioneer DDJ: Using the USB-C cable, connect the NeoDeck to your Pioneer DDJ controller. The NeoDeck’s plug-and-play compatibility ensures immediate recognition of your controller.
- Configure Audio Settings: Once connected, navigate to the audio settings in your DJ software. Select the NeoDeck’s built-in audio interface as your primary output source. This step is crucial for utilizing the dual stereo outputs for master and booth/monitor channels.
- Calibrate Your Controller: Adjust the settings on your Pioneer DDJ to align with your preferred configuration. This may include adjusting EQs, crossfader curves, and other performance features.
- Test Your Setup: Play a few tracks to ensure all connections and settings are functioning correctly. Check for latency issues and make adjustments as needed to ensure a seamless flow during your set.
Troubleshooting Common Issues
If you encounter any issues during setup, try the following:
- Ensure Compatibility: Verify that your Pioneer DDJ controller firmware is up to date. Check the NeoDeck website for any software updates.
- Check Connections: Double-check all cable connections. Re-seat any loose cables and ensure the USB-C connection is secure.
- Audio Output Issues: If there is no sound, revisit the audio settings in your DJ software to confirm the NeoDeck is selected as the output device.
Enhancing Your Performance
With your NeoDeck and Pioneer DDJ setup, you have access to a range of features designed to enhance your live performances. Take advantage of the NeoDeck’s touchscreen capabilities to quickly navigate your library, manage playlists, and apply effects with ease. The combination of hard and software reliability ensures you can focus on creativity rather than technical issues.
Conclusion: Ready to Rock the Decks
Integrating the NeoDeck with your Pioneer DDJ controller is a straightforward process that opens up a world of possibilities for your DJ sets. Whether you're a professional DJ or just starting out, this setup provides you with the tools needed to deliver exceptional performances with confidence. Embrace the cutting-edge technology of NeoDeck and Pioneer to captivate your audience like never before.
Ready to upgrade your DJ setup?
Join thousands of DJs on the waitlist for NeoDeck — the purpose-built DJ computer.
Get Early Access